Creating Custom Space Domains (Outgoing emails and portal access)
This document applies to: Coworking & Workplace
You can use your custom domain in two ways: for outgoing emails and portal access. Setting a custom domain for outgoing email allows your space to configure automatic emails sent by Proximity to come from your domain, i.e. "From: info@coworking.com." Setting a custom domain for portal access is a feature available to space operators to enable your space to allow your members to sign in to Proximity through a custom subdomain.
Important Definitions
- Subdomain- Anything that appears before your domain, including “www”.
- Domain → Example.com
- Subdomain → news.example.com
- CNAME- This record points a subdomain to another domain name. They should always point to a URL.
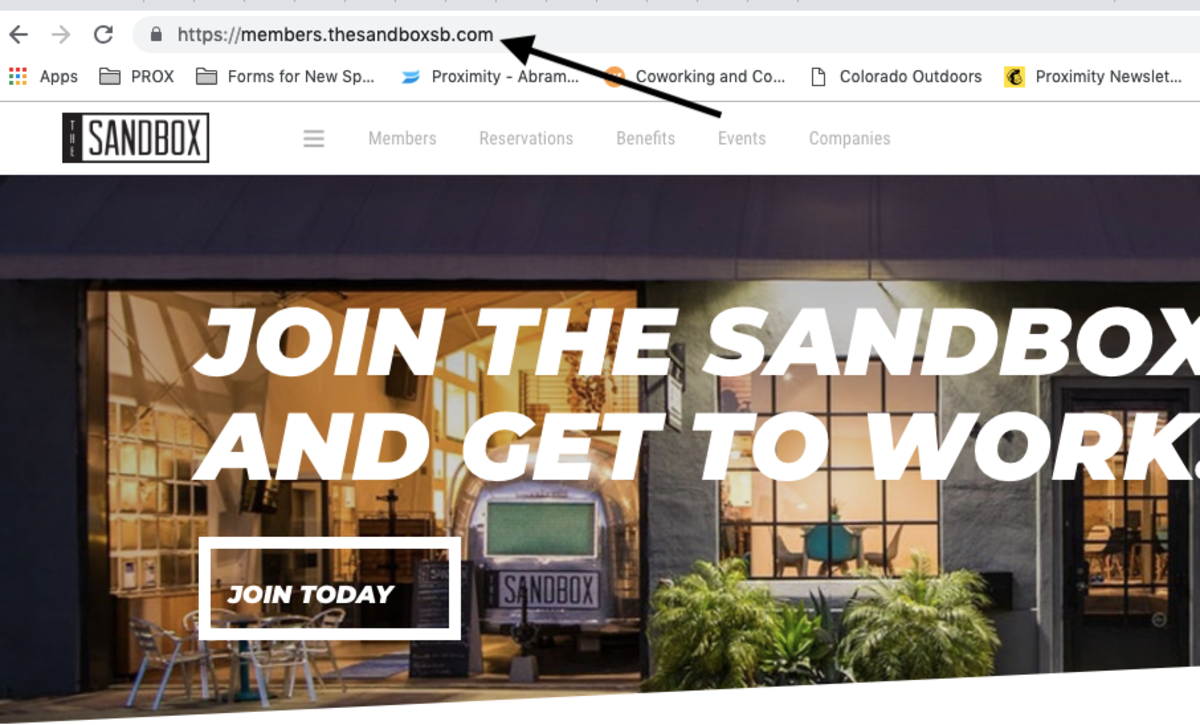
- Below is an example of a custom domain. Before adding a CNAME record, this would be a subdomain of Proximity.
Setting a Custom Domain for Outgoing Mail
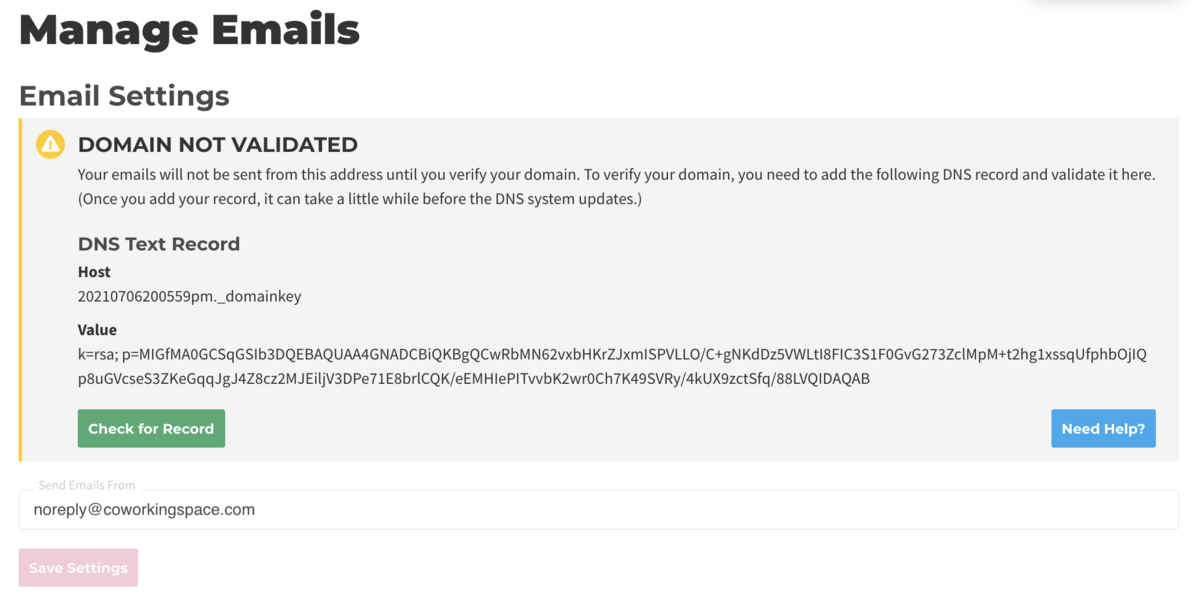
- Navigate to your Proximity site > Settings > Emails. From here, enter the email address you wish to send your automatic emails from.
- Click Save Settings
- After saving, a yellow box will pop-up containing the information you need for email verification. Under DNS Text Record, the Host and Value will be displayed.
- Create a Txt record with your DNS Provider. You can find a list of common DNS providers below with instructions of how to create that record.
- Once saved, it may take a few hours to validate.
- Return to the Proximity platform.
- Navigate to Settings > Emails.
- Click Check for Record
- You will know if the record has been set correctly because the yellow box will disappear.
Common DNS Providers and How to Create a Txt Record
Square Space (Txt)
- On the left-hand side of your screen click Settings
- Click Domains
- Under Squarespace Domains, click the domain name that you would like to edit.
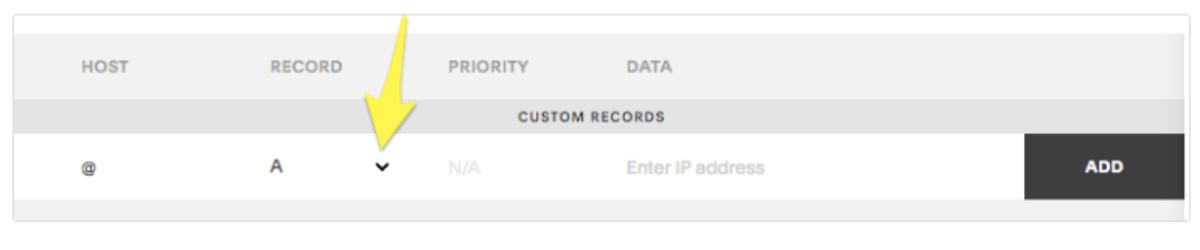
- To add a new record, select TXT from the drop-down menu
- In the Host field, enter ______ (record found on Emails Settings page)
- Leave the Priority field blank.
- In the Data field, enter _______ (record found on Emails Settings page)
- Click Add to save the record to your settings.
Wix (Txt)
- Go to the Domains page
- Click on the Show More icon next to the relevant domain and select Manage DNS Records from drop-down menu
- Under the TXT (Text) section click + Add Record
- Copy the first code (Host) and paste it under Host Name
- Copy the second code (Value) and paste it under Points To
- Select 1 hr. under TTL
- Click Save
GoDaddy (Txt)
- Log in to your GoDaddy account and open your product.
- Select your domain name from the list to access the Domain Settings page.
- Scroll down to the Additional Settings section and select Manage DNS.
- On the DNS Management page, click Add on the bottom right-hand corner of the screen.
- Select TXT from the Type dropdown.
- Copy the first code (Host) and paste it under Host Name
- Copy the second code (Value) and paste it under Points To
- Select 1 hr. under TTL
- Select Add Record
Setting a Custom Domain for Portal Access
To set up a custom domain for your Proximity portal access, reach out to Customer Support via Intercom and provide them with the custom domain name that you want to use for your site. You must own the domain in order to proceed. Our support team will get you set up with your custom domain. During the process, a support team member will provide you with information to set up a CNAME record through your DNS provider. They will provide you with two sets of values--the first set is a DNS validation record that verifies your ownership of the domain, you will enter those in the "Host" and "Target" fields of the CNAME record. After that record has been created and your ownership is verified, support will provide you with a new set of "Host" and "Target" values. Update the existing CNAME record with those values.
Exterior Links:
How to create a CNAME record with various DNS Providers:
Please note:
- Adding a custom domain allows for a smoother-looking and more professional transition from your website to your landing page.
- We require a CNAME to verify domain ownership in order to create a custom domain.
- You can only have one CNAME record per Proximity site. If you want other URL's to point to your Proximity
- site, you will need to set up forwarding within your DNS provider.
- If you have multiple Proximity sites, you can set up a CNAME record for each subdomain and one for the custom domain.
- All DNS changes can take 24 - 48 hours to fully update across global networks.