Add and Manage Perks
This document applies to: Workplace
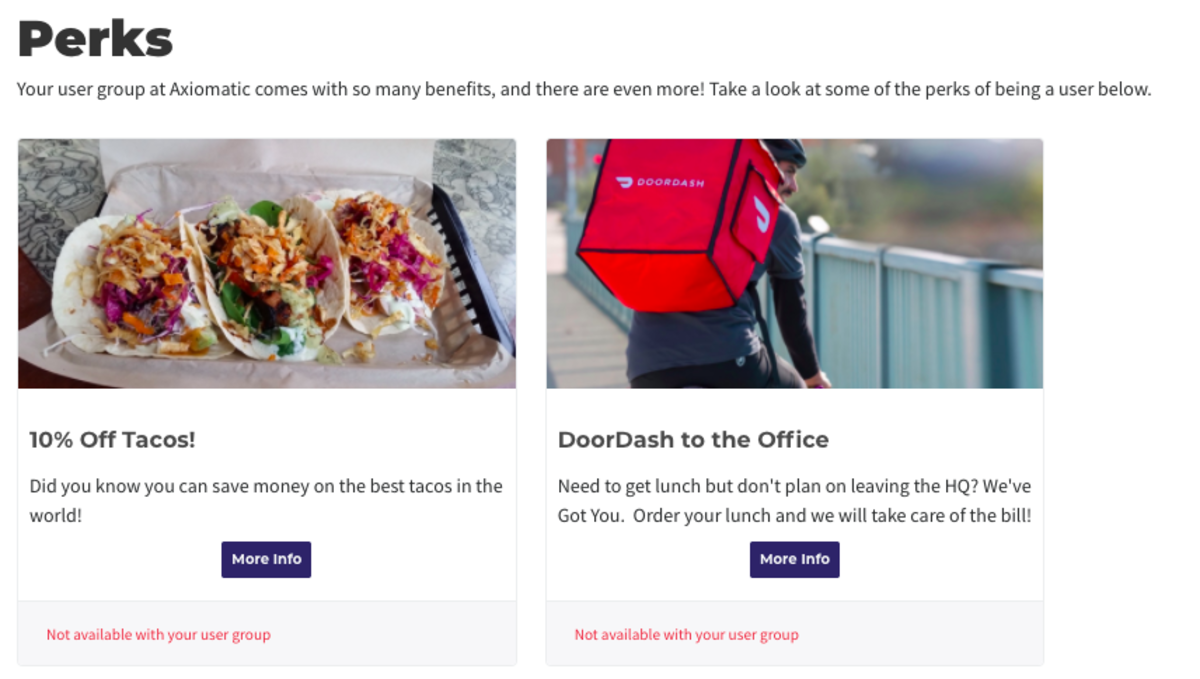
Show your current and potential users what they get for joining. Each benefit includes space for a photo and a description of the perk offered, and once a user has joined, they are shown instructions on how to receive that benefit. An example could be 10% off at a neighborhood coffee shop, free business cards from a designer in your space, or access to a speakeasy down the road. Perks can be found in the top navigation toolbar of your site under Perks.
Add a New Perk
Navigate to Manage Users > Perks.
- Title
- Image: Ideal image size 2000px wide by 1000px height.
- Description
- Instructions: Include instructions on how to use the perk. For instance, if you need to show your keys in order to receive the discount. If the perk is restricted to specific user groups, only those user groups will be able to see the instructions.
- Restrict this benefit to certain user groups?: Check this box to choose which user groups can benefit from this perk. Leave unchecked if the perk applies to all user groups.
- Save.
Edit an Existing Perk
Navigate to Manage Users > Perks.
- Hover over the three dots next to the perk and select Edit.
- From here, you can edit all of the information for the perk.
- Select Save.
Delete a Perk
Navigate to Manage Users > Perks.
- Hover over the three dots next to the perk and select Delete.
- Please note: This action cannot be undone.