Brand and Content
This document applies to: Coworking
Customize the Proximity Platform to fit your brand by adding your logos, colors and images.
Branding Tab
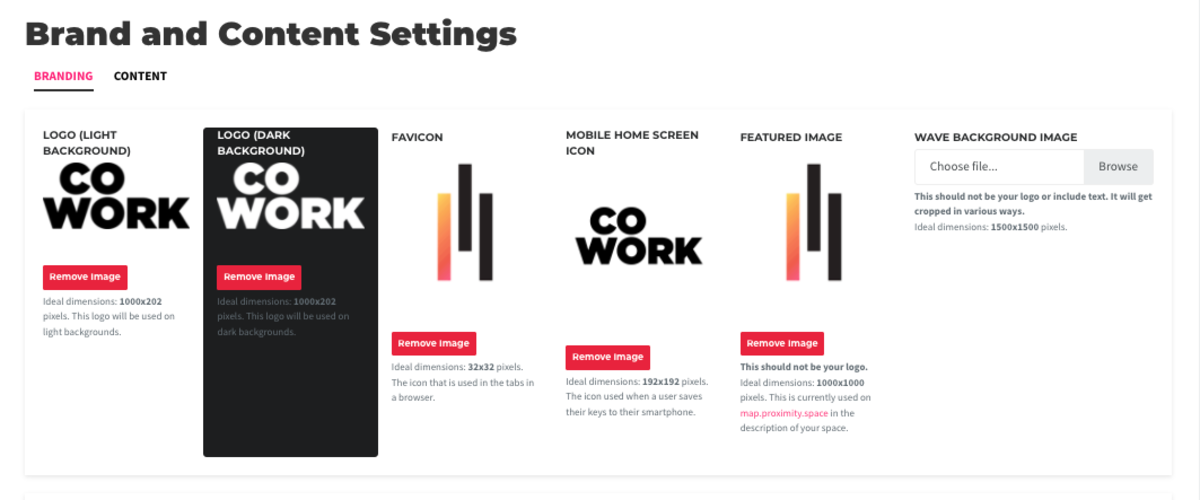
From the dashboard, navigate to Settings > Brand and Content. Under the Branding tab:
- Add your branded images.
- Add your Logo with a light background and dark background. If you don’t have a logo with a dark background, a .PNG with a transparent background will work.
- Add your Favicon, which is the icon that is shown in a web browser tab. Your Favicon should be 32x32px and either a .gif or .png
- Add your Home Screen Icon which will appear in the upper left corner of the Proximity Platform. It is also used when a member saves their keys to their phone. Usually, this is your logo.
- Add your Featured Image which is the image used to show your space in various link previews and shouldn’t be your logo.
- Add your Proximity Wave Background Image which shows up as the background on Proximity Wave and shouldn’t be your logo. The default image is a textured black image.
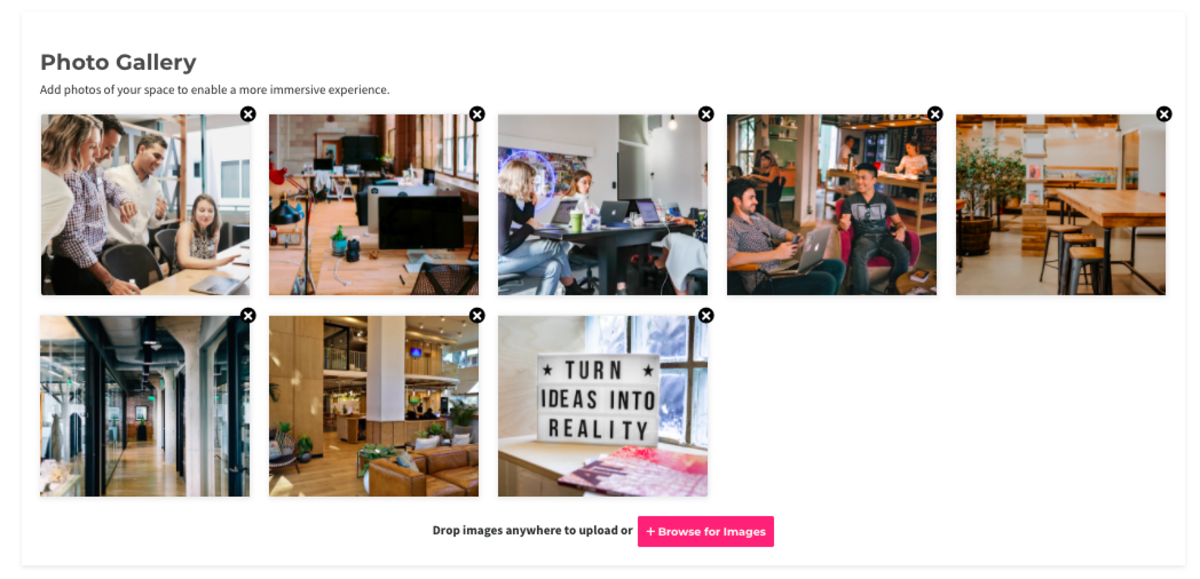
- Add your photo gallery. Add photos of your space to enable a more immersive experience for prospective members.
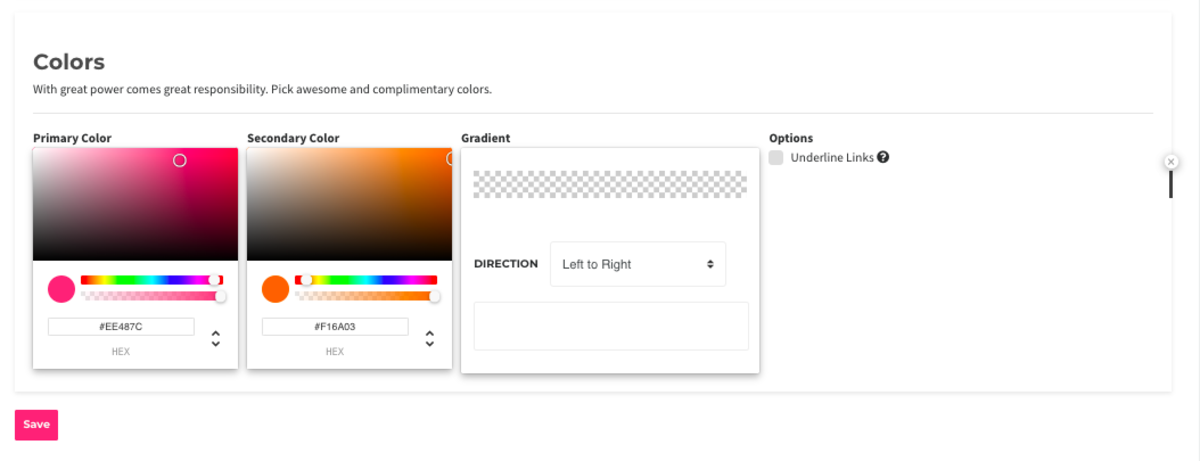
- Colors
- Drag the cursor around the color box, or type in the HEX color code in the field box for the Primary Color and the Secondary Color.
- This is the color theme that will be used throughout the software and displayed on your home page. Pick awesome and complimentary colors!
- Gradient: To use the gradient tool, press the (x) on all of the points on the gradient. Then you can create your own gradient by selecting new points on the gradient scale.
- Underline Links: If you choose a color, that's close to black links may no longer stand out when you hover over them. You can check this box to underline the links as users hover over them.
Content Tab
Navigate to the Content tab.
- Write your Hero Text in the text box. This will be the headline on your home page that displays below your Photo Gallery. The default says “You may have to work, but you don’t have to work alone”.
- Choose to display address and map, and hours on your site.
- Welcome Message: Enter helpful information for new members such as where to sit and how to find help. This information will also show as your Space Info.
- Wifi Network Name or SSID
- Check if the Network has a password
- If applicable, enter the Wifi Network Password
- Edit your site content.
- Edit your membership page title. This will display at the top of your membership page.
- Edit your membership page description. This will display below your membership page title.
- Edit your lead paragraph for login screen. This is displayed when a member clicks "Login."
- Edit your resource booking description. This is displayed when a member clicks "Book Now" to book a reservable resource.
- Edit your custom text for invoices. This is displayed at the top of each invoice. Use this space to display your space's name and address, any specific verbiage that is state required, etc.
- Wifi Information: This is displayed on the homepage. Enter a Welcome Message to users that they'll see upon logging in as well as your Wifi network/password if you want that displayed.