How to use Custom Charges
This document applies to: Coworking & Workplace
Sometimes you will need to custom charge a user.
From the dashboard, navigate to Manage Members/Users > Member/User List and click on the member.
From the billing tab hover over Billing Actions > Create Custom Charge.
Be sure to fill in all of the information.
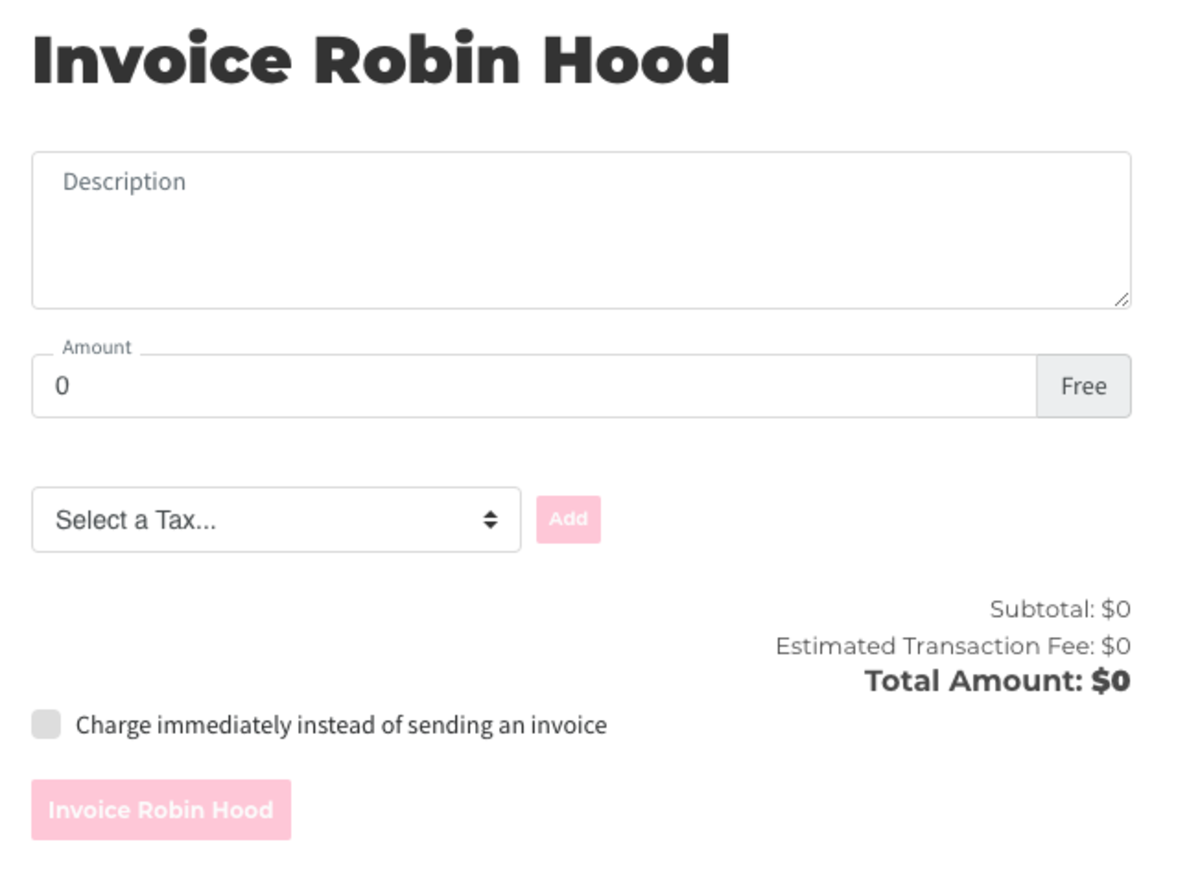
If you'd like to bill the member immediately, check the box next to Charge immediately instead of sending an invoice. This option will not be available if the member does not have a payment source on file. If you choose this option and offline payments are enabled for the member, the invoice will be closed as "Closed - Paid."
If you decide to not charge the member immediately and send an invoice to a member, they will be sent an email with the link to pay the invoice. The description and dollar amount will also be included in the email. If you choose this option and offline payments are enabled for the member, the invoice will remain open until you mark the invoice as paid.
Note: If your space has processing fees passed on to members, you will always see the estimated transaction fees when creating a custom charge, even if the member has offline payments enabled. If the member does have offline payments enabled, these fees will not be charged once the invoice is created.