Create and Manage Reservable Resources
This document applies to: Coworking
Now that you have added Categories, you can create your Reservable Resources. These could be conference rooms, phone booths, event space, etc. - anything at your space that you'd like your members to be able to reserve and use by the hour.
Jump to:
Create Reservable Resources
Customizing Membership Parameters for Reservable Resources
Hiding/Deleting Reservable Resources
Looking to manage Free Time? Reservable Resource Free Time
Creating Reservable Resources
From the dashboard, navigate to Manage Reservations > Reservable Resources > New Reservable Resource.
- Name
- Category: This will be used for your revenue reports, for members to easily navigate to your calendar to book a resource, and for free time if you have your free time pooled amongst resource categories.
- Description: Example: “This is our largest conference room on the 2nd floor. This room seats 10 comfortably, and it’s free for Dedicated Members to use for meetings, potlucks, networking events, and whatever else you are wanting to host!”
- Select Browse to upload an image of your Reservable Resource.
- Number of Seats: How many people this resource can hold
The following fields are the parameters your members will have to follow to reserve the resource. These fields will affect all members unless you set up special Membership Parameters for the resource. Once these fields are complete, you will be able to change the parameters for other Memberships by hovering over the three dots next to the resource and selecting Membership Parameters next to any resource from the Reservable Resource page or by selecting Member-level Permissions at the top of the page when editing a resource. Please note: Customized membership parameters on a reservable resource will override the following settings.
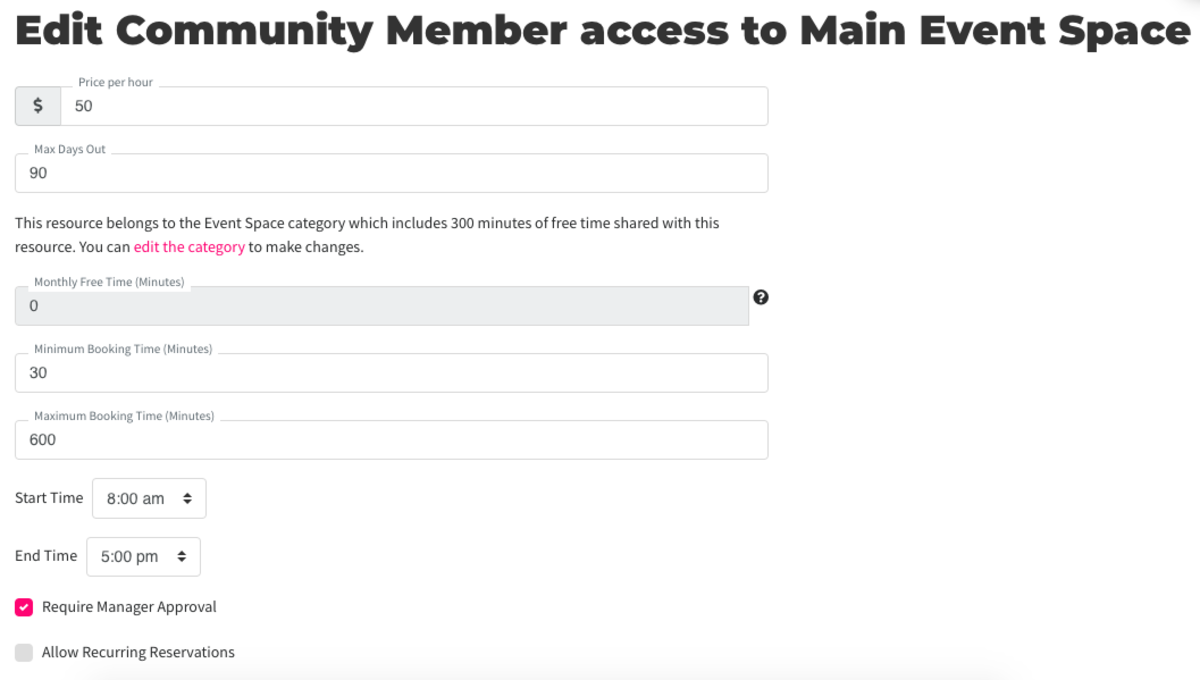
- Price per Hour: your standard hourly price for the reservable resource
- Max Days Out: the most days in advance that your members can book on the resource
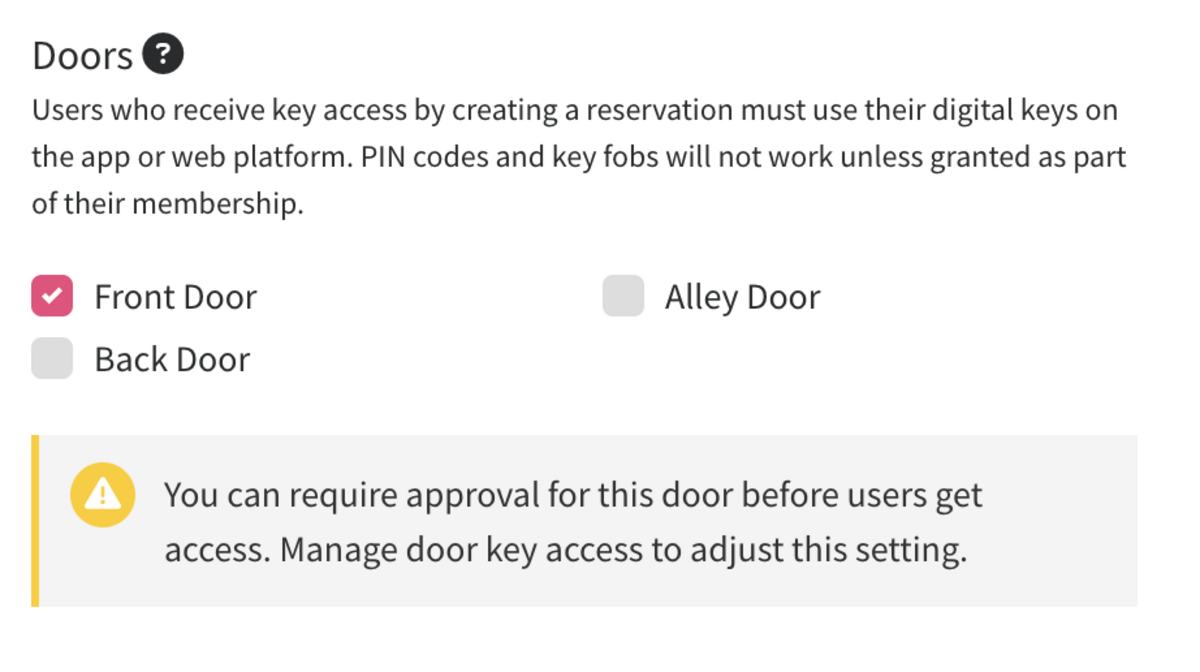
- Doors: if using door integration, this option will allow you to select which doors members get key access to with a reservation for the resource
- Monthly Free Time: the default number of free minutes ALL members receive for this resource. To customize by membership-level, see Reservable Resource Free Time for more details.
- Minimum Booking Time: the minimum amount of time in which the resource can be reserved
- Maximum Booking Time: the maximum amount of time in which the resource can be reserved
- Start Time: The resource cannot be reserved before this time.
- End Time: The resource cannot be reserved past this time.
- Please note: Start and end time must be within the same day from 12am-12am. Currently, we do not support resource times spanning over the course of two days i.e 8pm-6am.
- Allow members to make reservations on this resource: Check this box to allow members to book this reservable resource.
- Please note: If this box is not checked, the resource will still show on the calendar, but members will not be able to book this resource.
- Check Require Manager Approval: Check this box if the reservation must be approved by a space manager before it is confirmed.
- Please note: If this box is checked and the reservation is not accepted before the reservation starts, it will be automatically cancelled.
- Require Check In: Check this box if the resource must be signed in within 15 minutes of the reservation start, through Panorama or it will be forfeited.
- If you do not have Panorama set up for this Reservable Resource, do not check this box.
- Panorama is available on iOS and Android devices
- Private Meetings
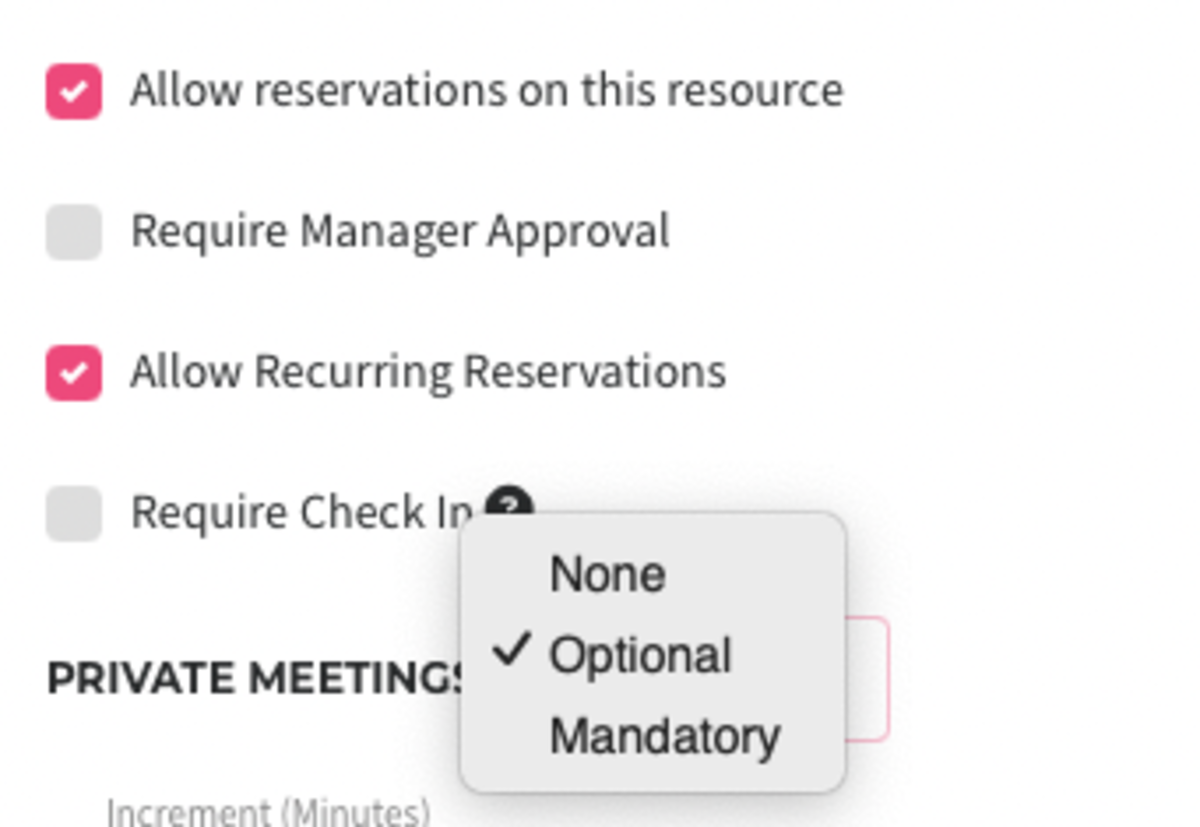
- Choose from these options:
None - meetings cannot be marked as private
Optional - the member can choose to make the meeting private
Mandatory - all meetings are private and details won't be shared on tablets or on the calendar.
Our previous privacy setting was found on the Settings > General page. If you had "Allow members to create private resource bookings?" selected, each of your resources will be set to Optional privacy. Otherwise, they will be set to None. To make a change to this setting, just edit the resource directly.
As always, managers can still see the details of any reservation, but this is what members will see when a booking is set to private.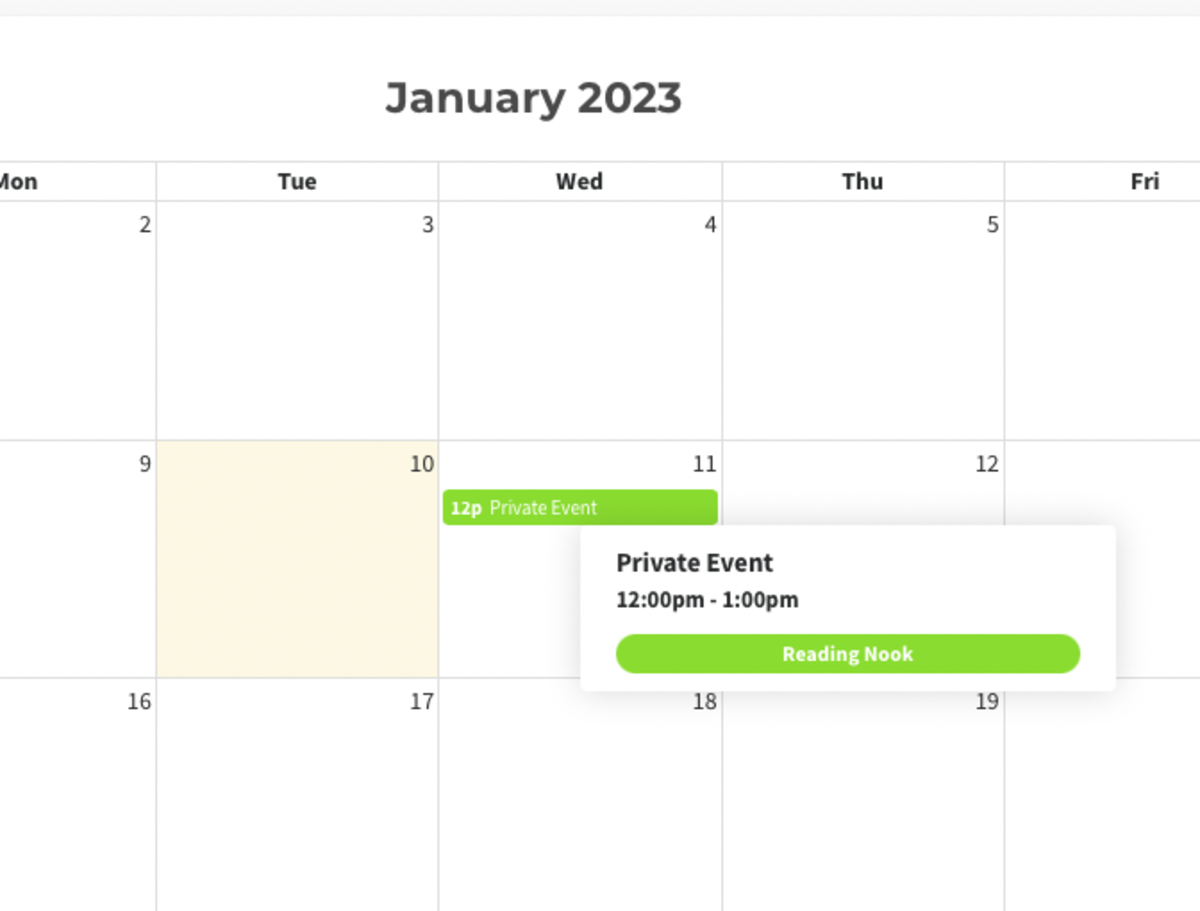
- Choose from these options:
- Increment (Minutes): The time increment in which reservations may be booked (15 minutes, 30 minutes, 1-hour increments). Example: If you want members to only be able to book this resource for a full day from 9-5, choose 480 minutes.
- Linked Google Calendar: Select a linked calendar if you would like your reservable resources to be integrated with Google Calendars. This can be done in Settings > Integrations. For more information on Google Calendars, check out the Google Calendar Integration page.
- Show Network Info: Allows you to select how you would like
- Create Resource.
Please note: You can copy resources to speed up this process but all default settings will be copied. This is especially important to note if you do not allow reservations on a resource and are copying those default settings to another resource that you want reservations to be allowed on.
Customizing Membership Parameters for Reservable Resources
Now that you have created your Reservable Resource, you can customize membership parameters for each Membership.
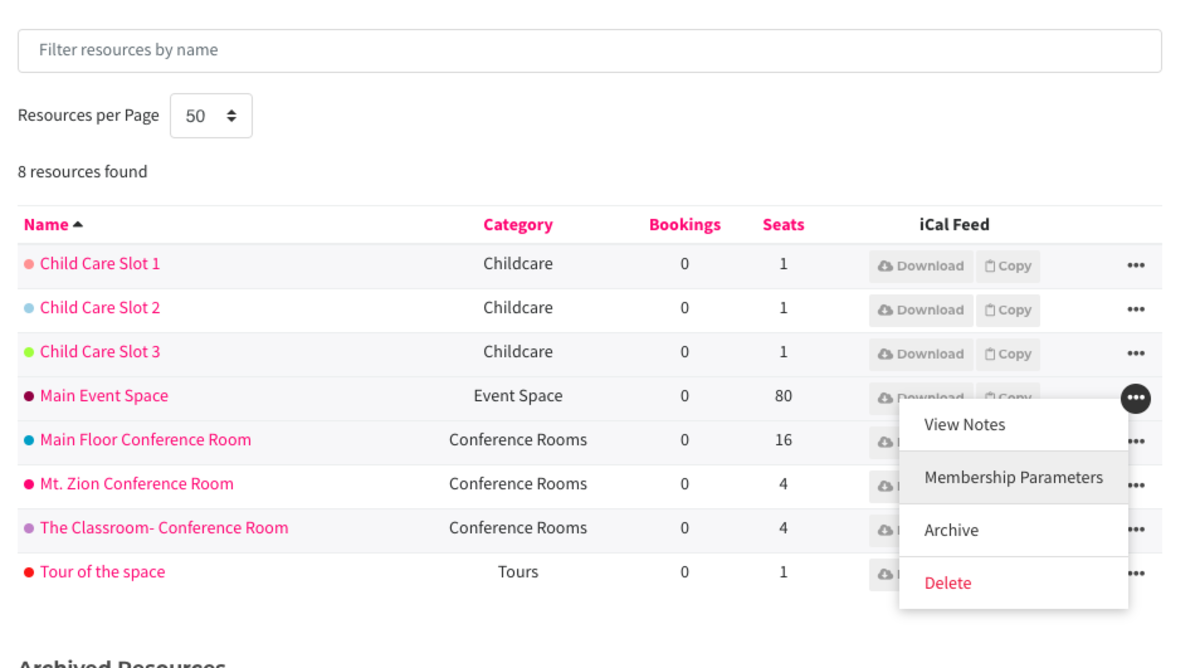
- Hover over the three dots next to the resource and select Membership Parameters.
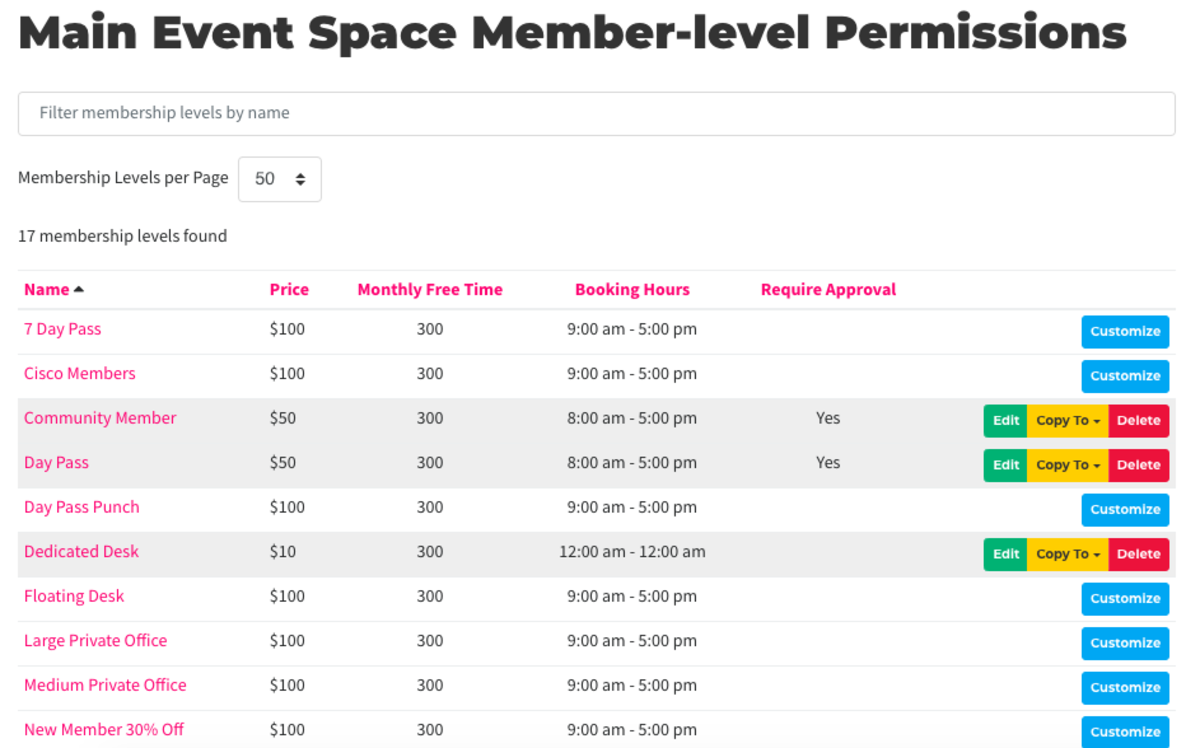
- Select Customize next to the membership.
- You will repeat steps 1-11 above for each membership under each reservable resource.
Please note: You can use the Copy To button to speed up this process but all default settings will be copied. This is especially important to note if you do not allow reservations on a resource and are copying those default settings to another resource that you want reservations to be allowed on.
Hiding/Deleting Reservable Resources
- Archive: If you no longer wish a resource to show when members make a reservation, but would like to keep the resource, hover over the three dots next to the resource and select Archive. These resources will show in your Archived Resources and can be restored.
- Delete: If you wish to delete a resource for good, hover over the three dots next to the resource and select Delete.
- Please Note: This action cannot be undone.
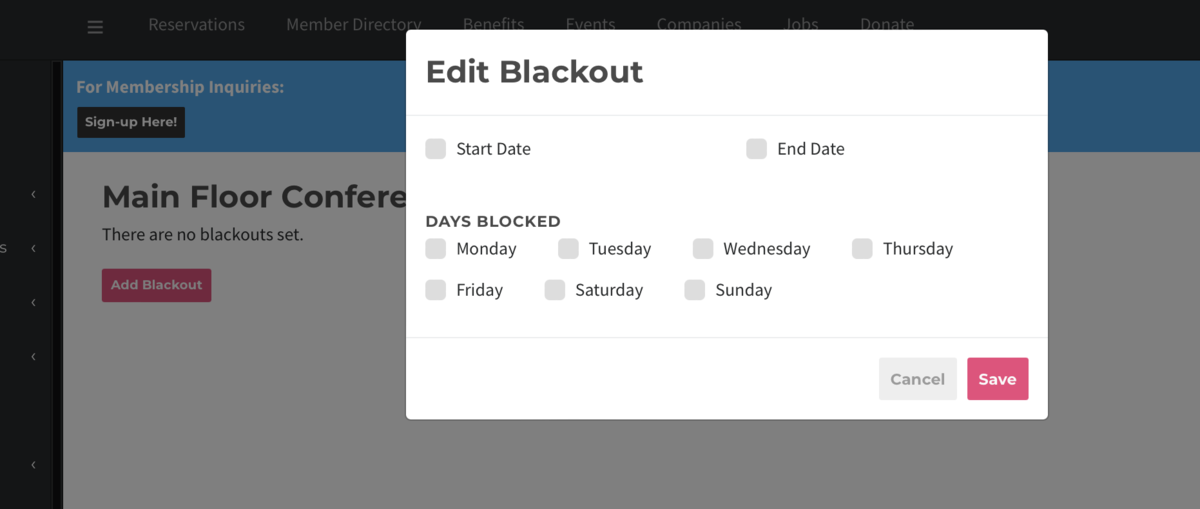
Blackout Dates for Reservable Resources
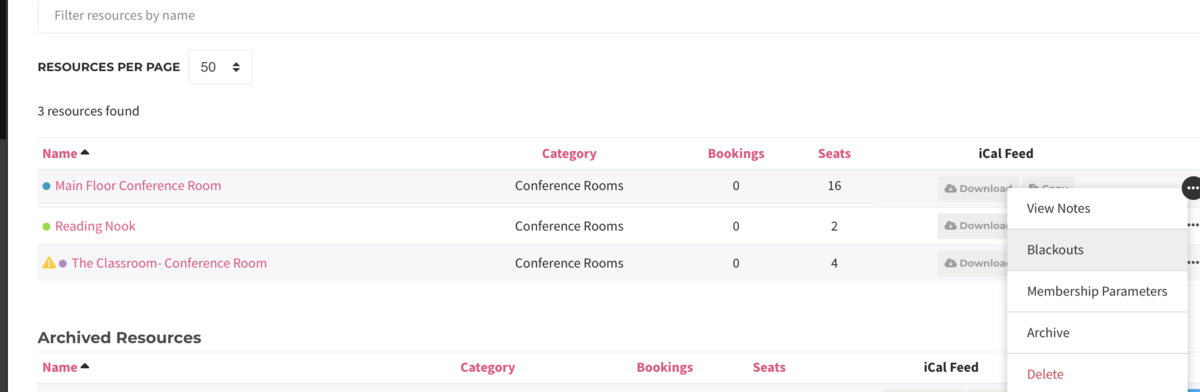
To set up a blackout date for your reservable resource, navigate to your resource list and hover over the ••• to the left of the resource. Choose Blackout.
When you add a blackout you can choose to block certain days (like weekends) or set up a timeframe for a blackout (like if you plan to close your space during the holidays).